January 18, 2018
One icon brings a whole set, you know — so warm up your fingers and the mouse, we’re ready to get started with a super exciting icons tutorial!
Following the new trends and the trends, that have already conquered your passion and interest, we've ended by turning to the isometric icons & illustrations triumph. Once they've blown up and shared the laurels with line and flat icons, they still take the high positions, pushing hundreds of creatives to the new design area to bring you a finely-crafted icon set. Won't conceal it, we were among those who early adopted the trend and couldn't help including some of our experiments to our Ballicons 2 set.
And today has come the day for you to craft your first icons yourself, embracing making convenient isometric action to use them for your isometric icons sets hereafter. ? So warm up your fingers and the mouse, we're ready to get started!
Let's start with creating a document, where the whole process will run. Following the instructions in the screenshot, you will get a file with 2 artworks 128x128, which will perfectly fit our further work on the icons.

Creating a New Document
And now let's pass directly to the set of actions to smooth up our further work on the icons. You can follow all the steps with us or just download the ready-made actions fro Illustrator, that we've prepared for you beforehand:
Step 1: Action «Right».
Open the Actions panel (Window→Actions) and create a new action with Create New Action command on the bottom bar:
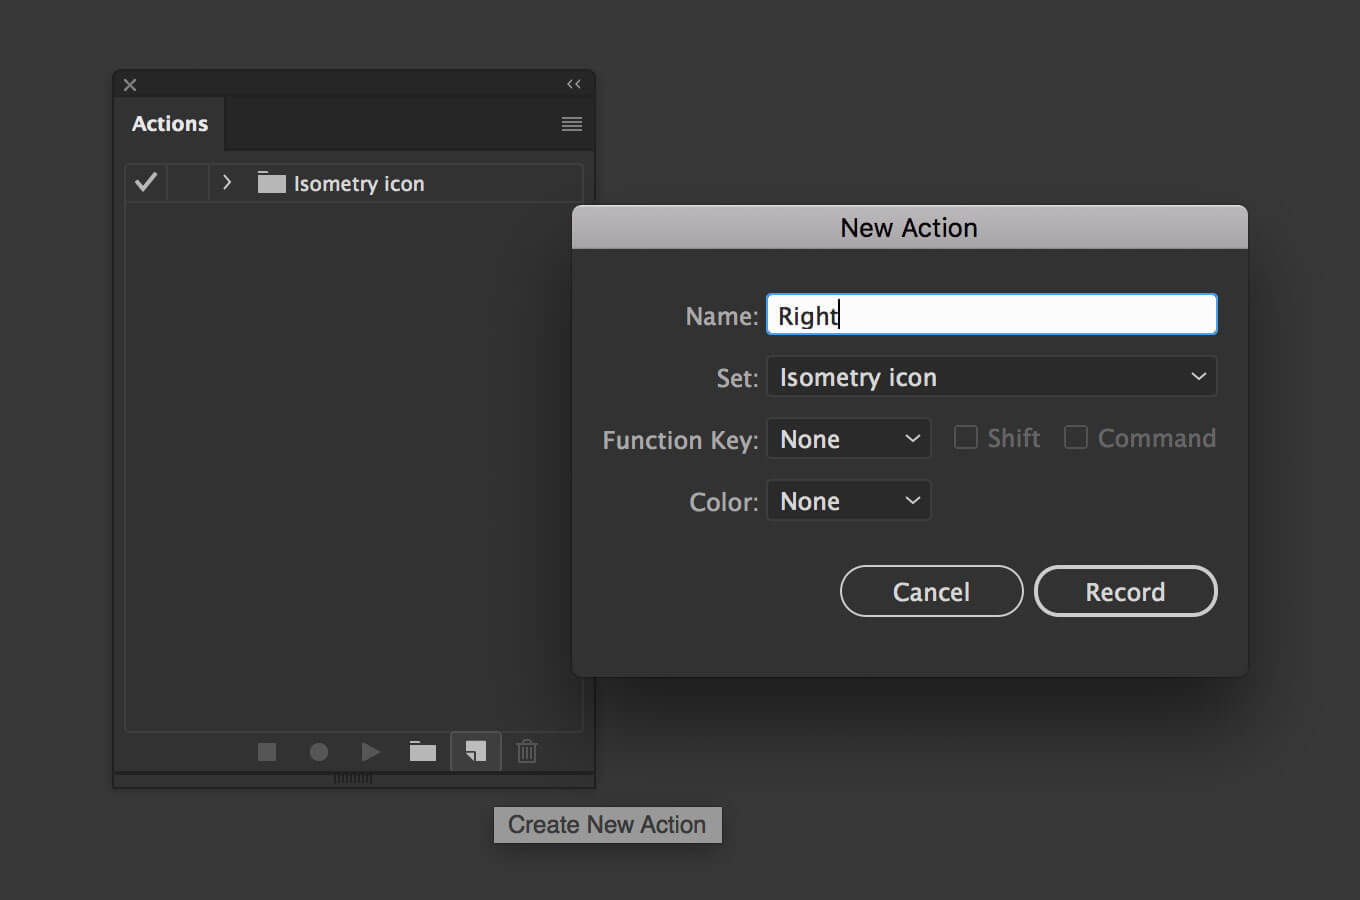
Creating a New Action
Creating a New Action
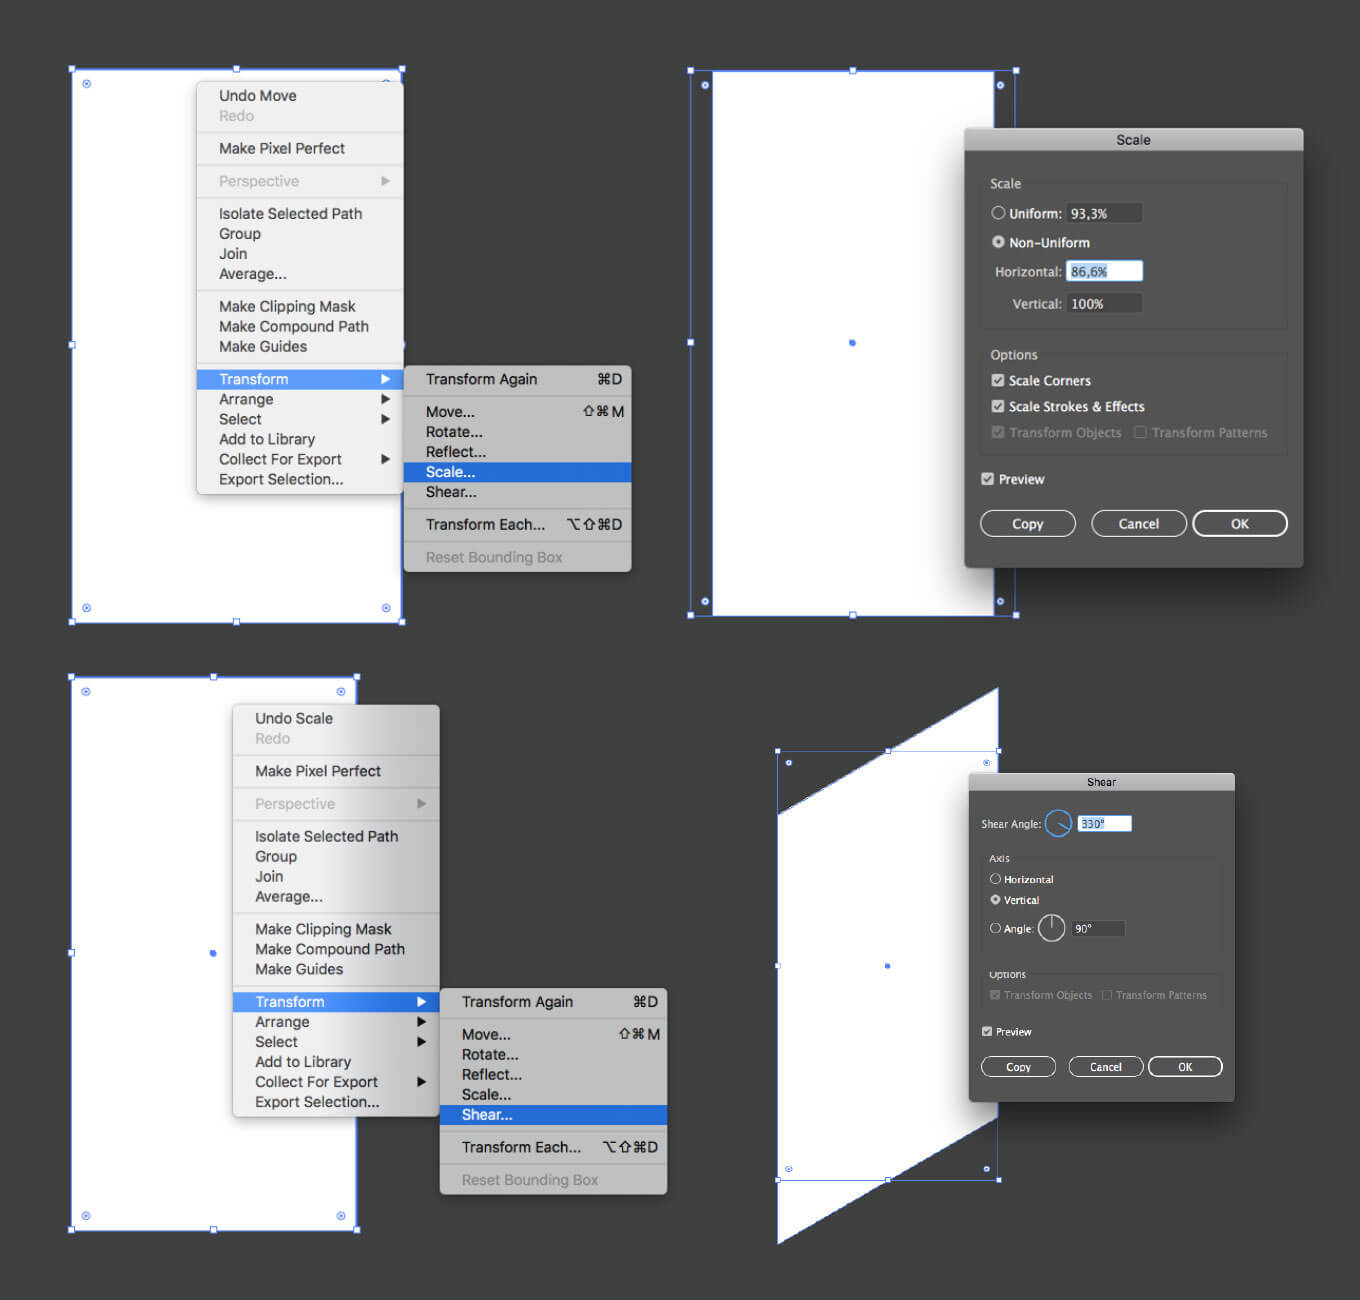
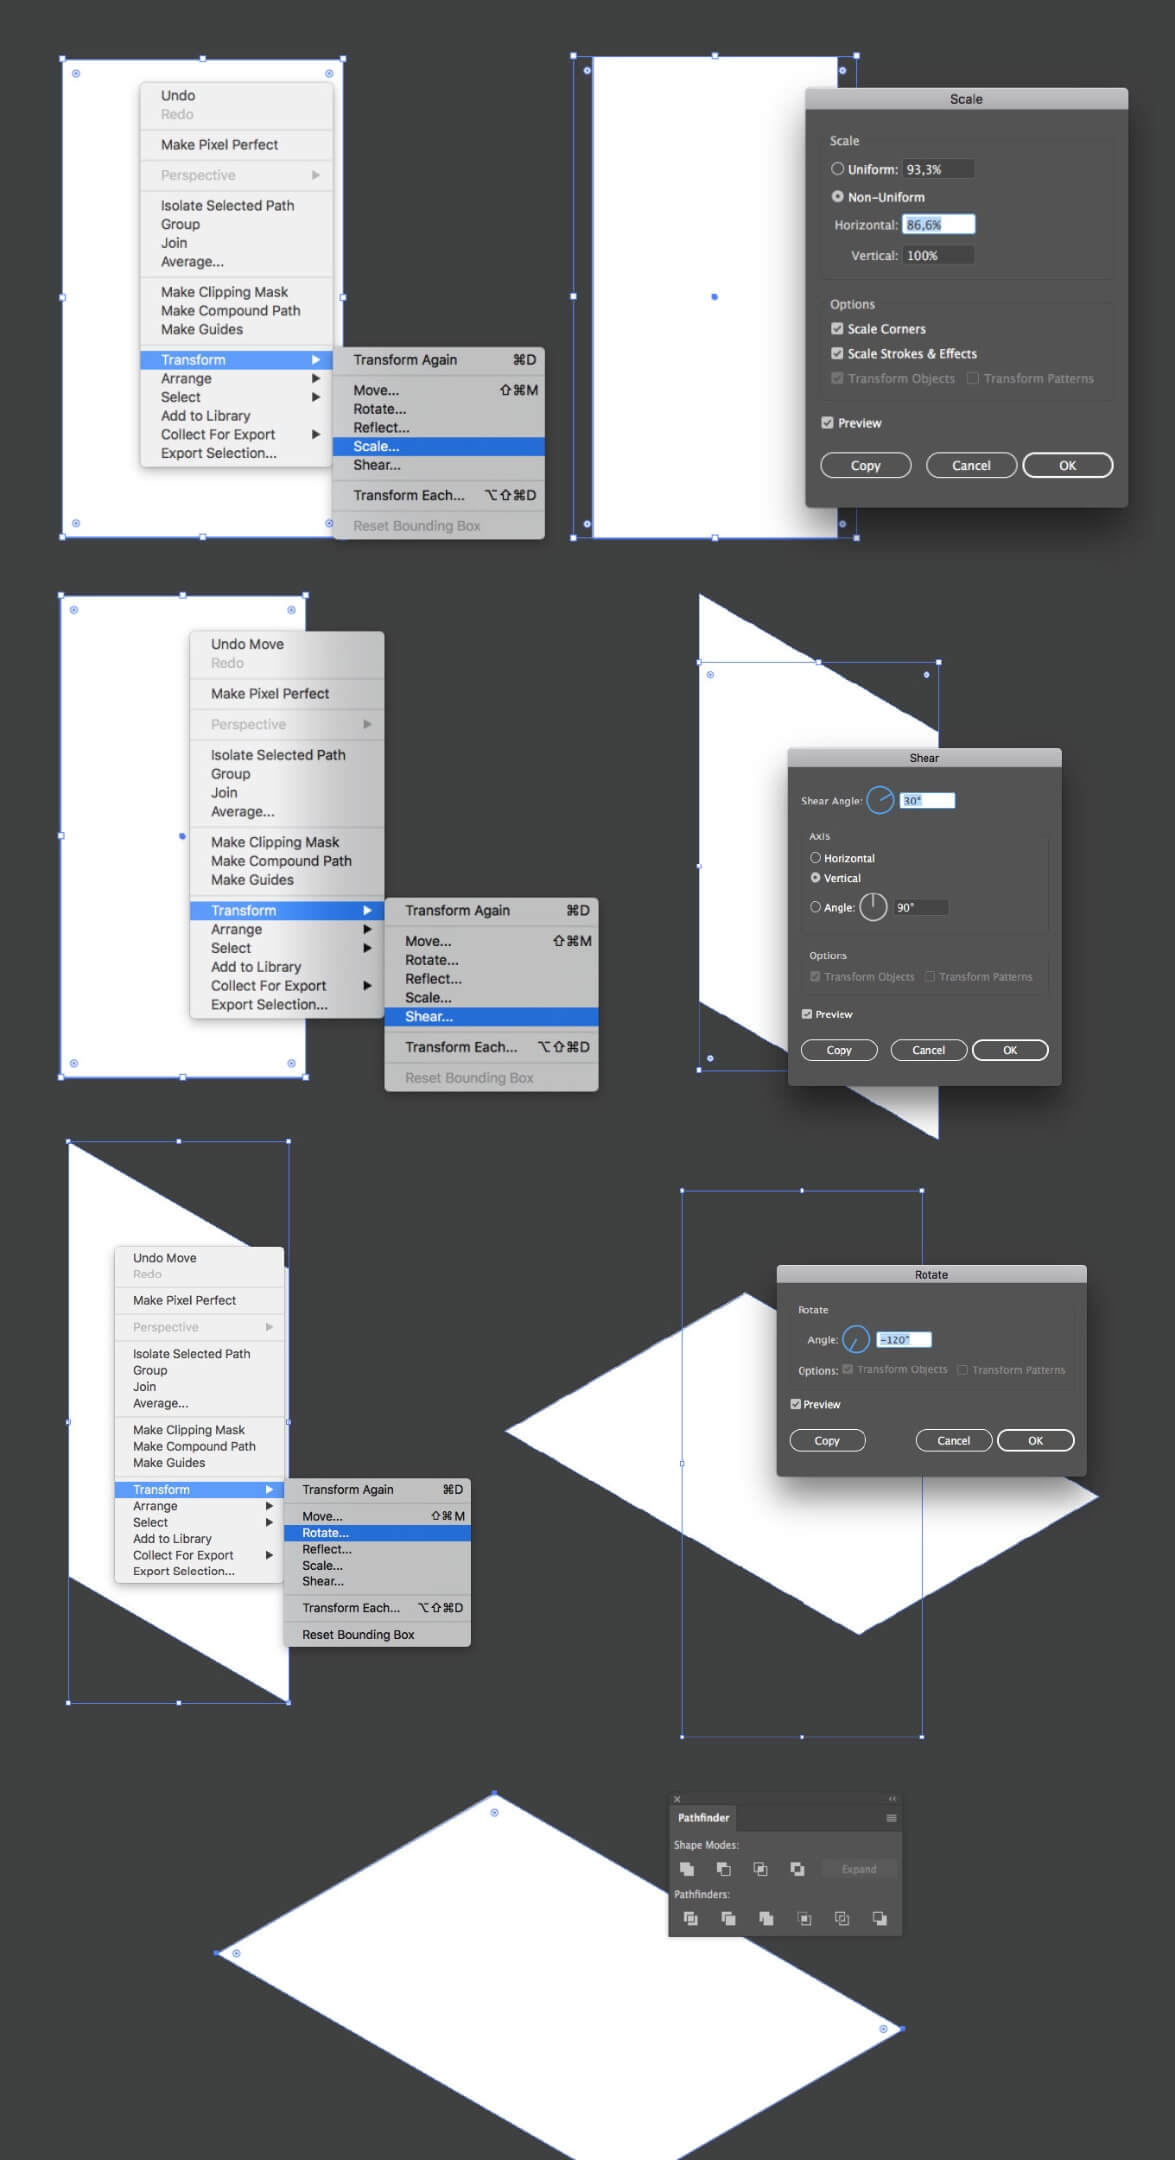
When the recording is on, select the vector shape and successively apply the following transformations to it: first, scale it down by 86.6 % widthwise and then change the angle to 330 degrees vertical.
Stop the recording - the action is done!
Step 2: «Left»
Open the Action panel and create a new action called Left with Create New Actioncommand on the bottom bar. When the recording is on, repeat the previous sequence: first scale it down by 86.6 % widthwise, but this time change the angle to 30 degrees vertical. Stop the recording - the action is done!
Step 3: «Top Left»
Open the Action panel and create a new action with Create New Action command on the bottom bar. When the recording is on, do the commands for your object: first scale it down by 86.6 % widthwise and then change the angle to 30 degrees vertical. Finally rotate the object by -120 degrees and use a command Pathfinder→Unite.
Stop the recording - the action is done!
Step 4: «Top Right»
Open the Action panel and create a new action with Create new actions command on the bottom bar. When the recording is on, repeat the previous sequence: first scale it down by 86.6 % widthwise, but this time change the angle to 330 degrees vertical. Finally rotate the object by 120 degrees and use a command Pathfinder→Unite. Stop the recording - the action is done!
Have you had a good look at the actions? Awesome! With these tools at hand you will be able to create a set of 2 isometric icons 128x128 px. Let your eyes rest a little bit and come & do it!

Isometric icons we're to build
Isometric icons we're to build
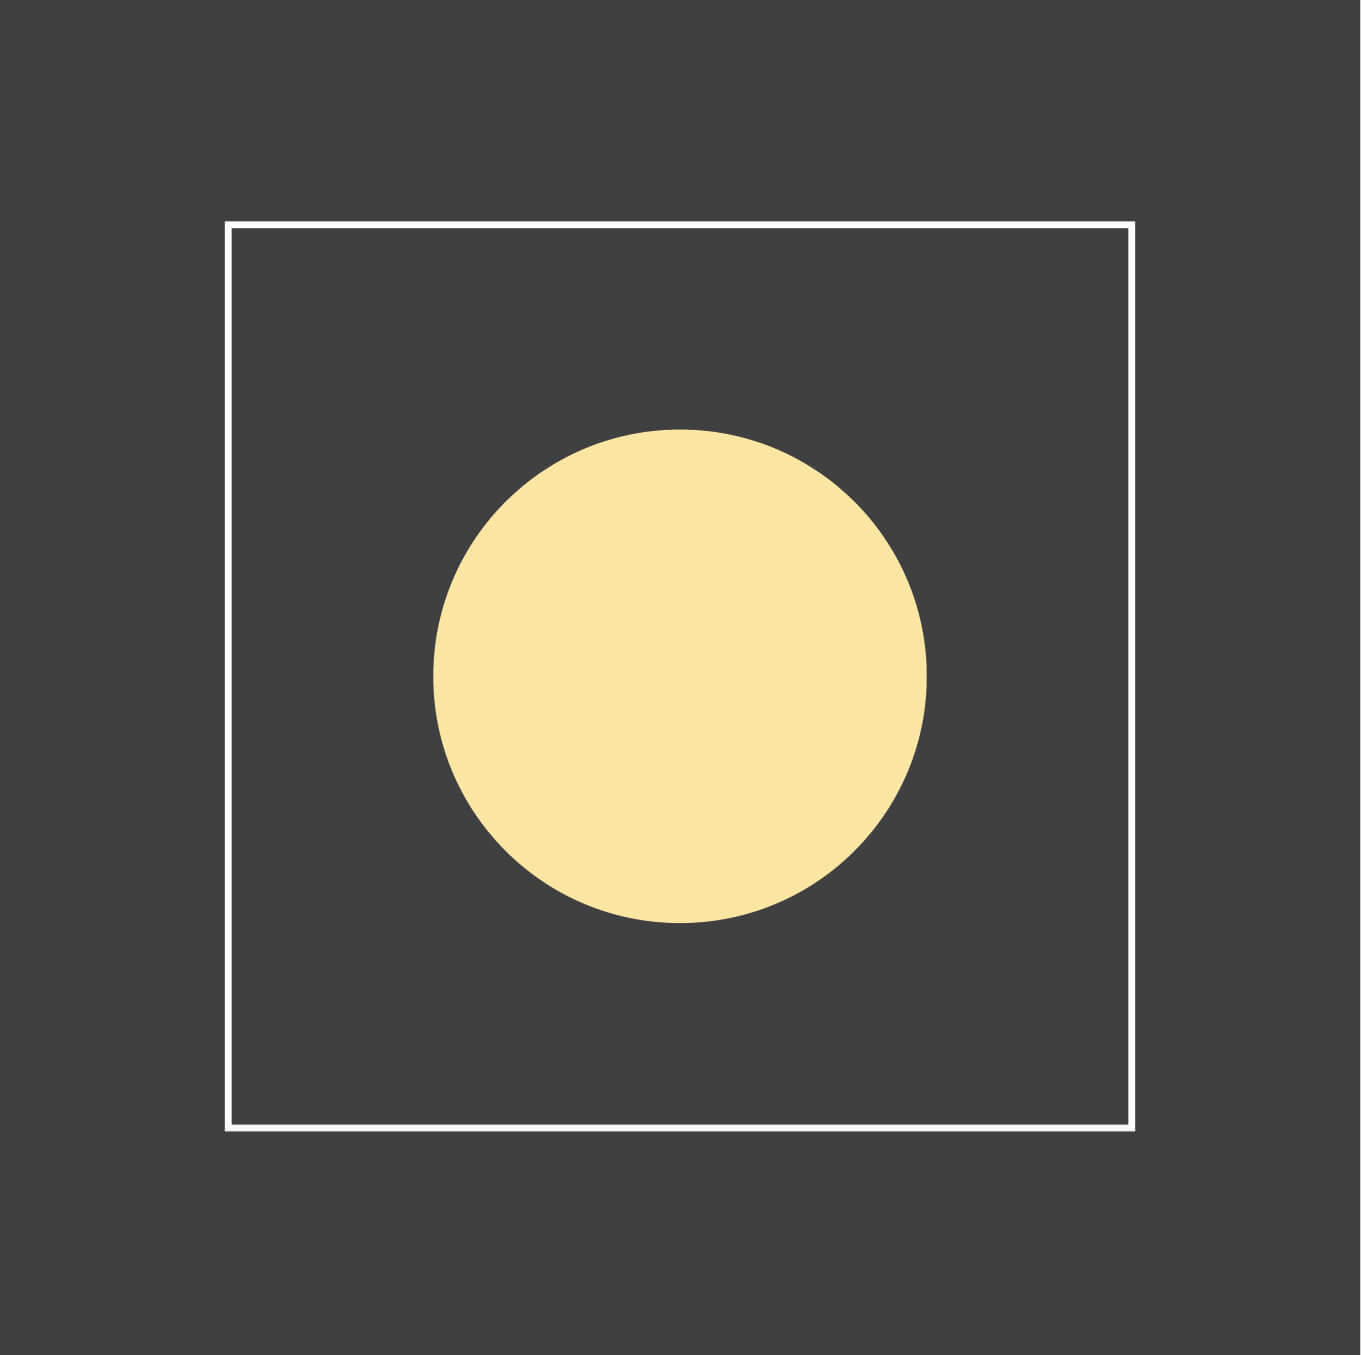
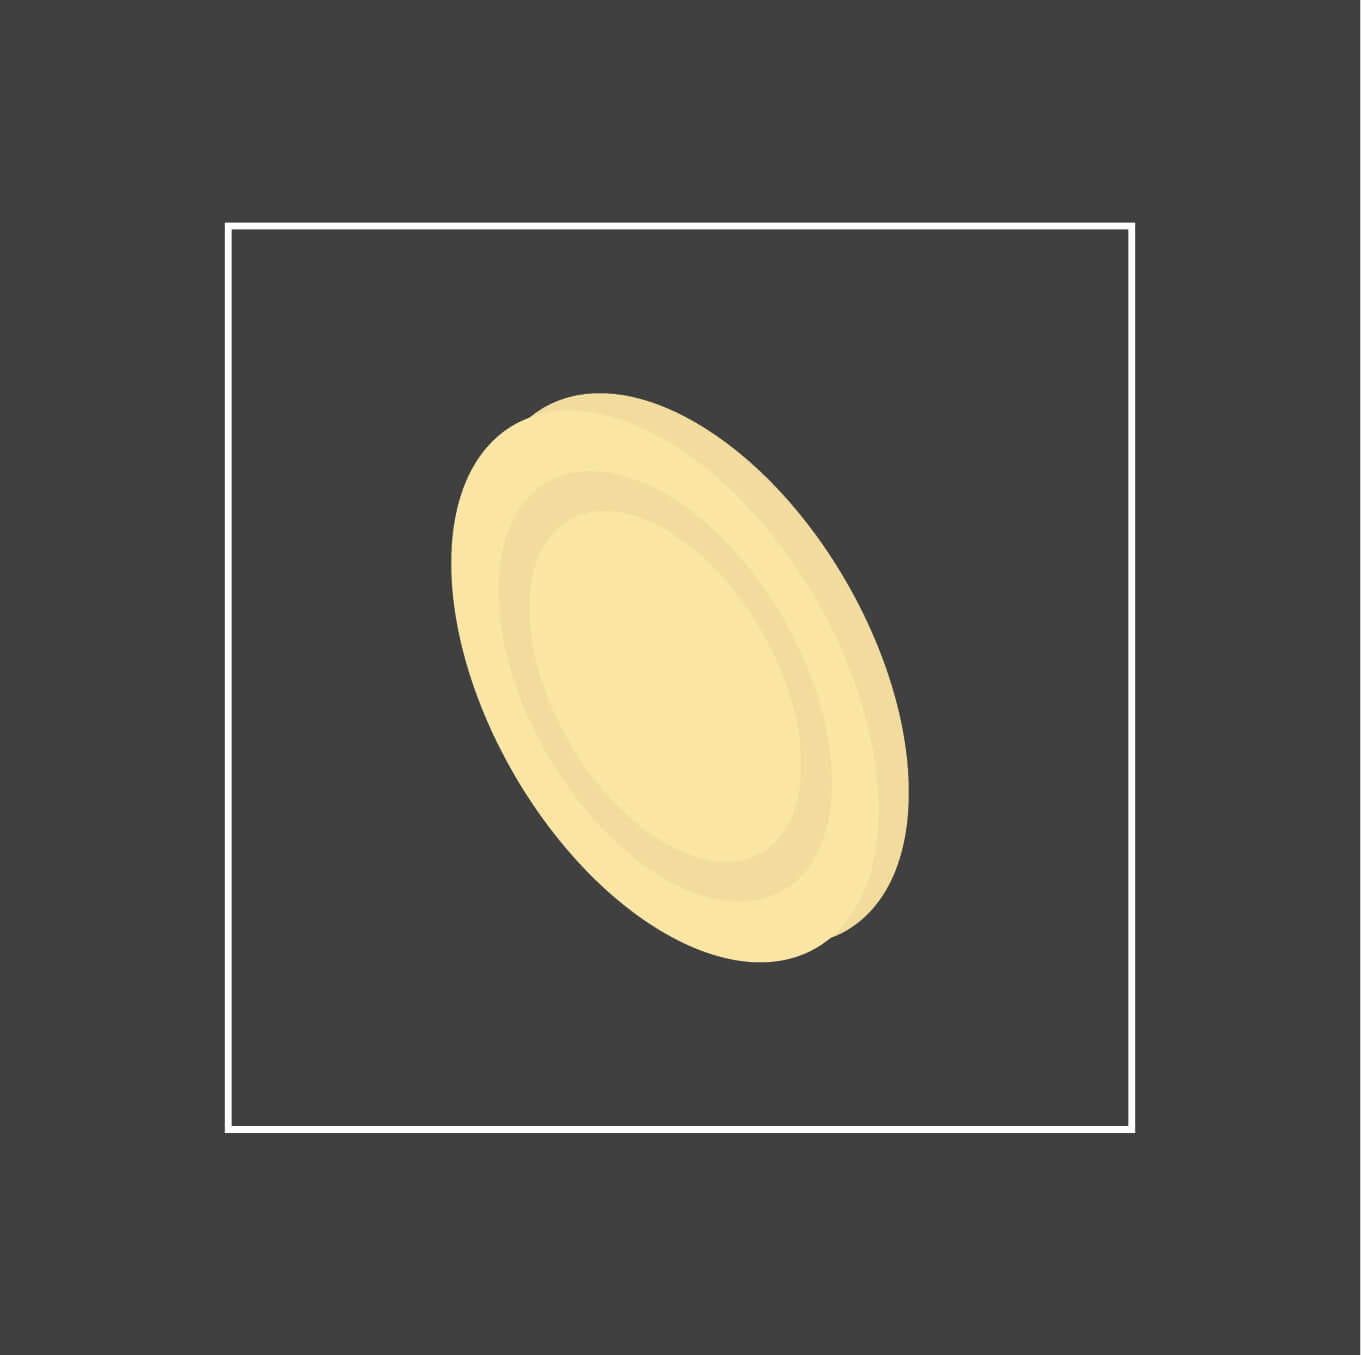
Create a shape 70x70 px with an Ellipse tool. The shape color is #FAE4A2.
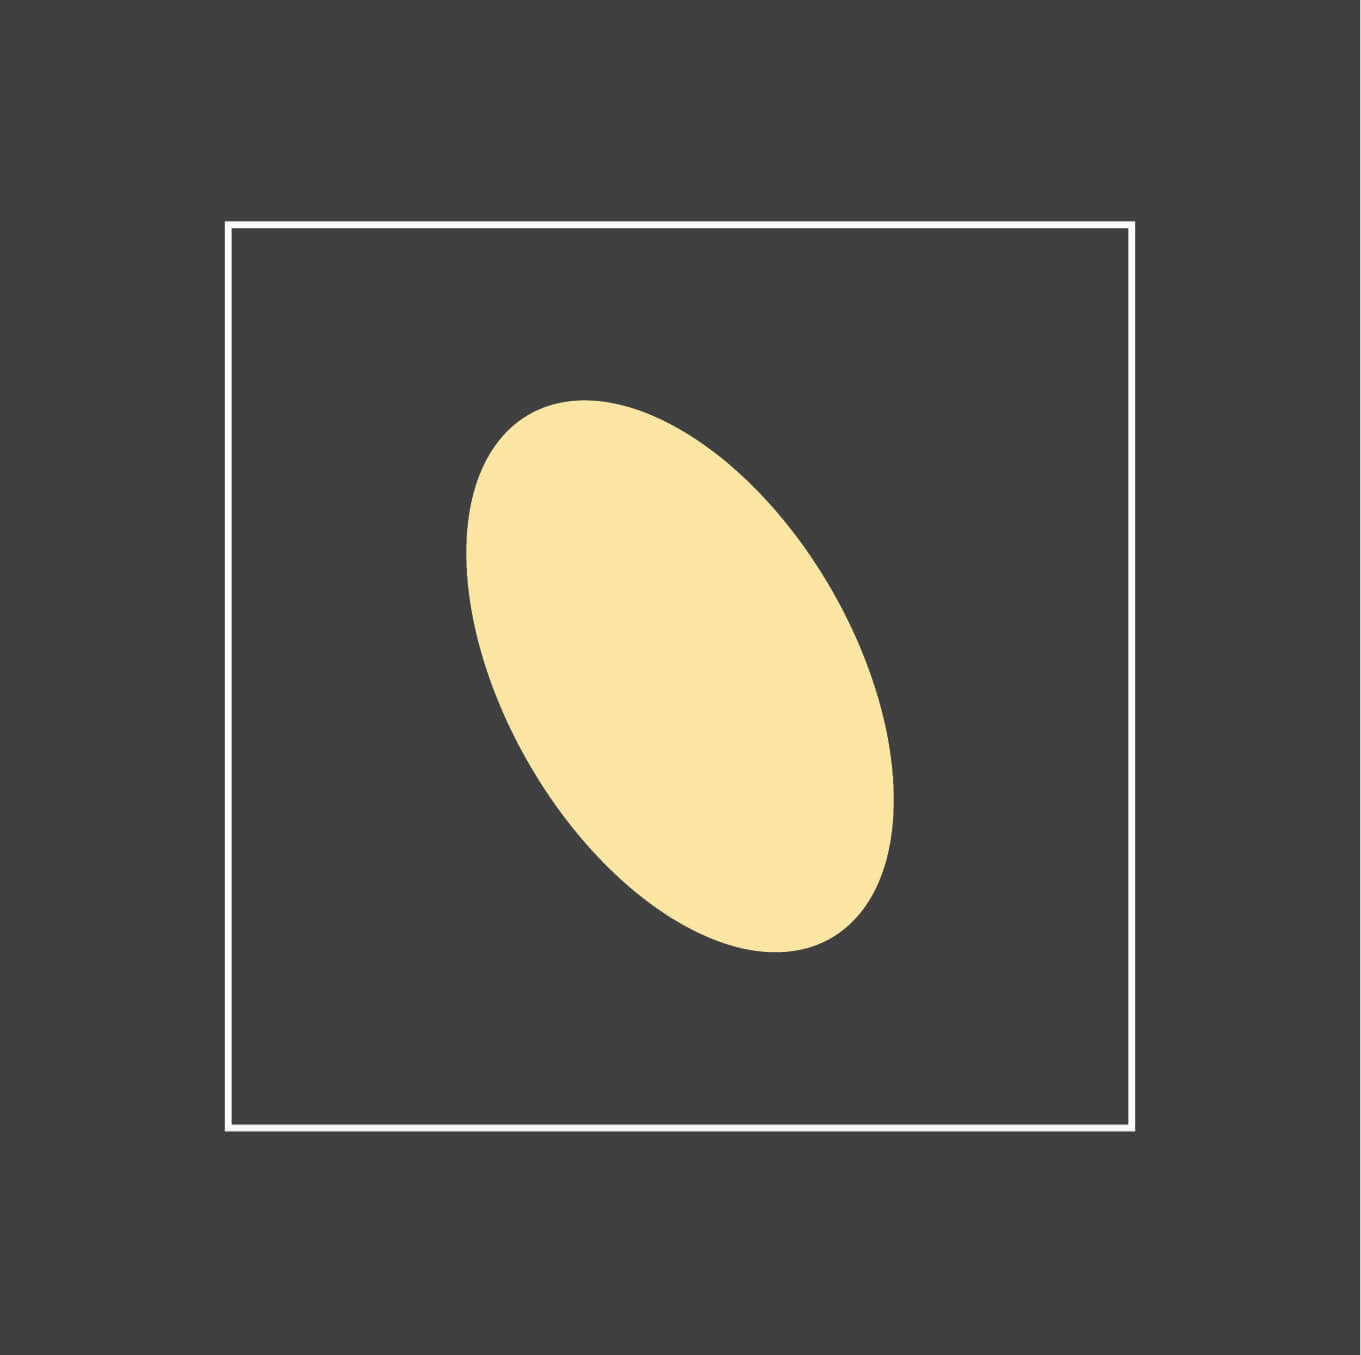
Apply the action Left.
Duplicate the layer and move it 5 px left. Change the color of the first shape for #F1DB9D.
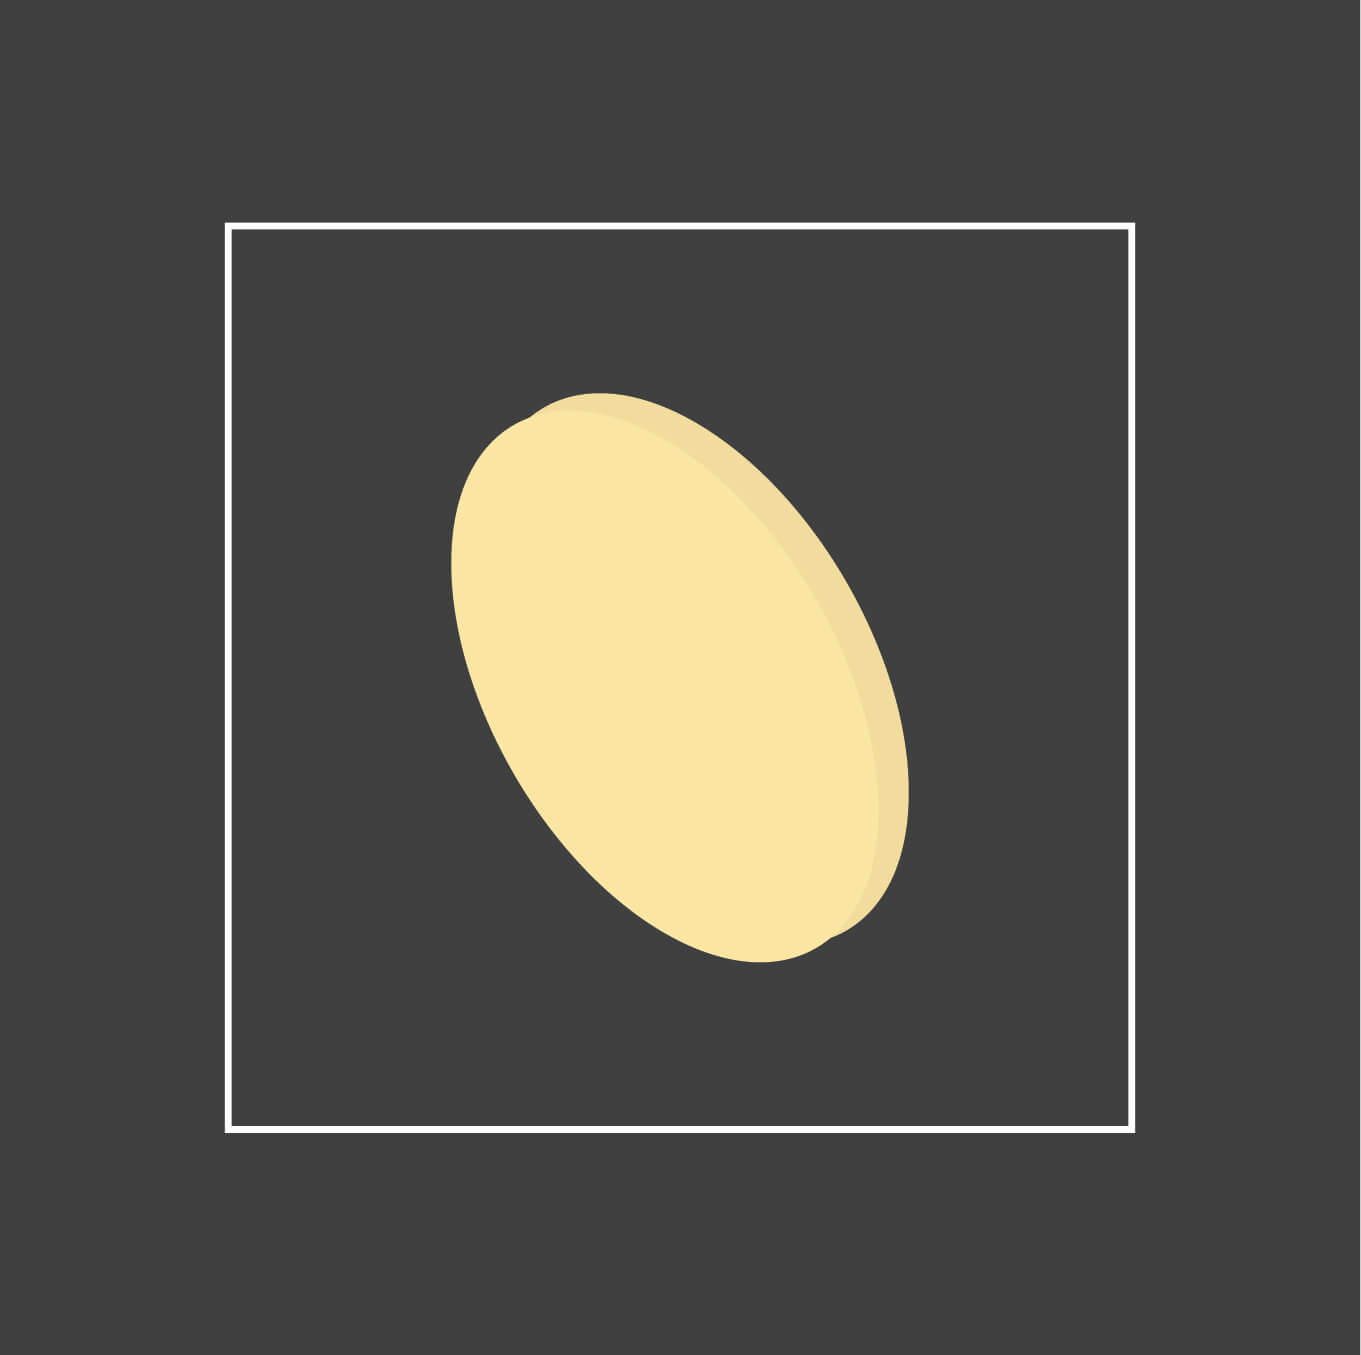
To get the shape of the inside ring, duplicate the layer of the second shape and scale it down by 20% and change its color for #F1DB9D. Then dub it and scale again by 10% and change the color for #FAE4A2.
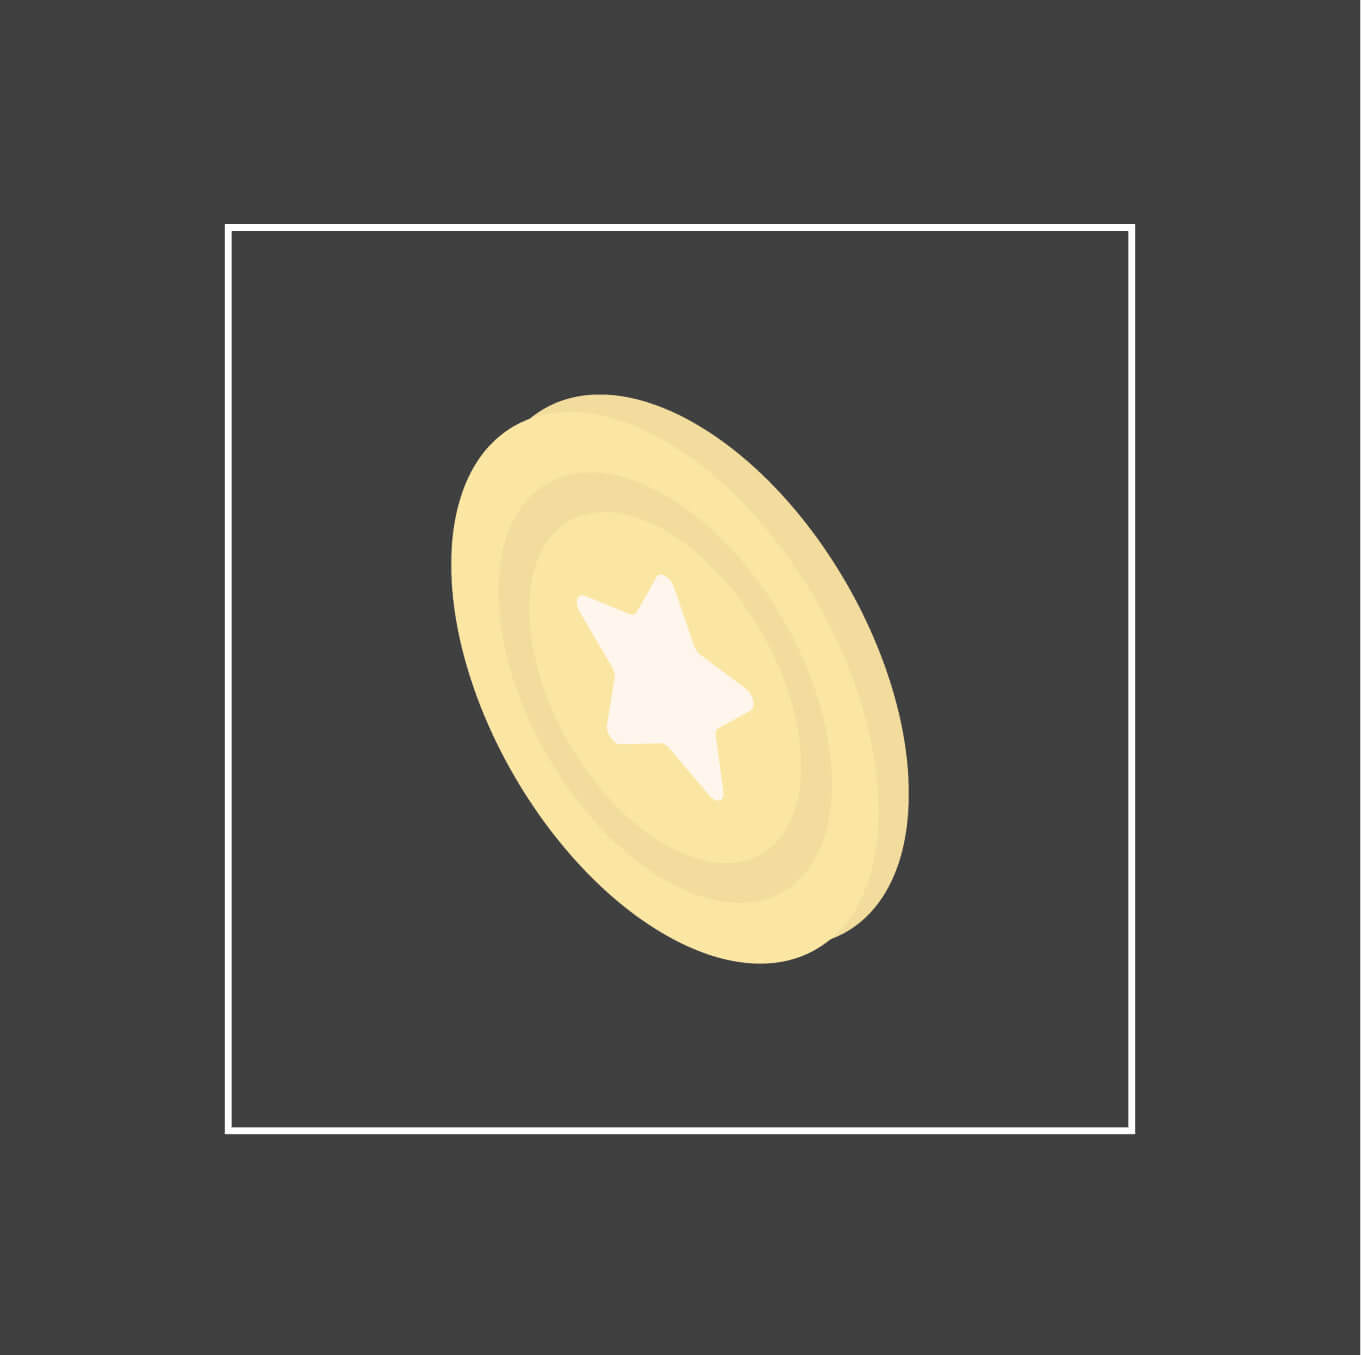
Create a five-pointed star with a Star Tool, size 32x30 px, color #FFF4EA. Swith to Direct Selection Tool mode (white arrow)/hot key A and smooth up the corners by 1.5 px.

Transform it with action the action Left. Place it in the middle of the medal.
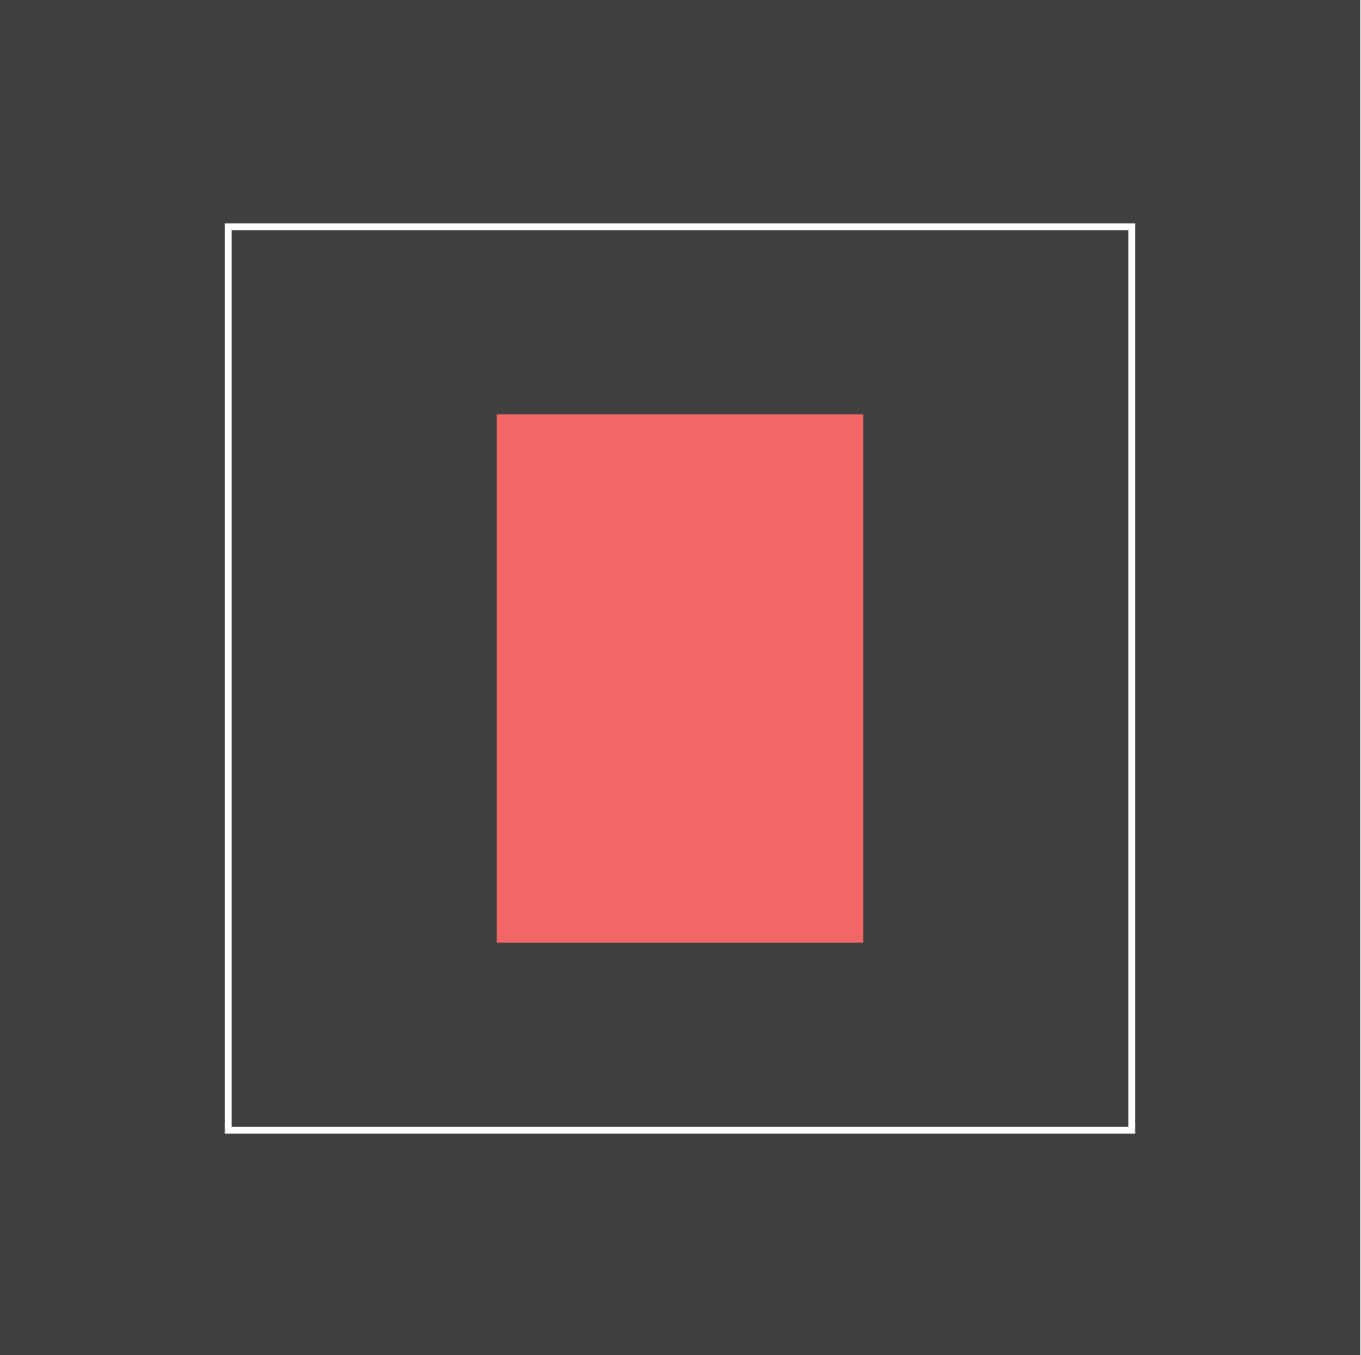
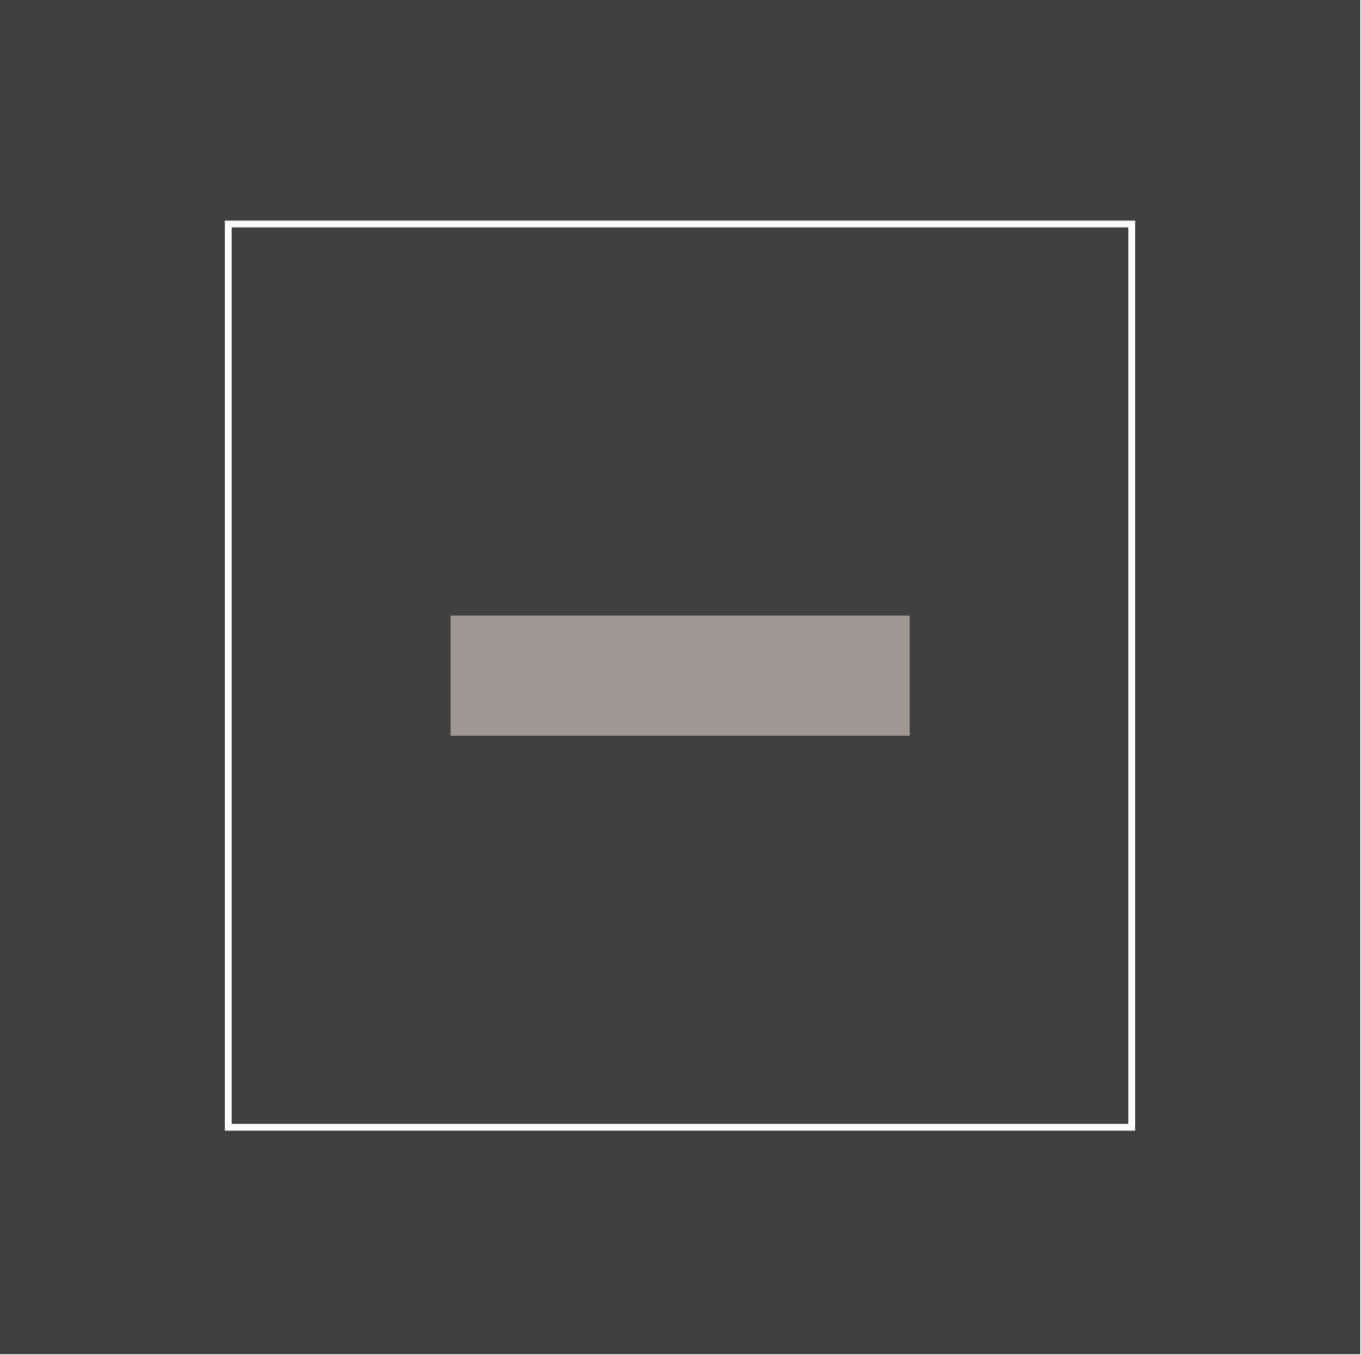
Create a rectangular shape with a Rectangle Tool, size 52x75 px, color #F26664.
Apply the action Left to it.
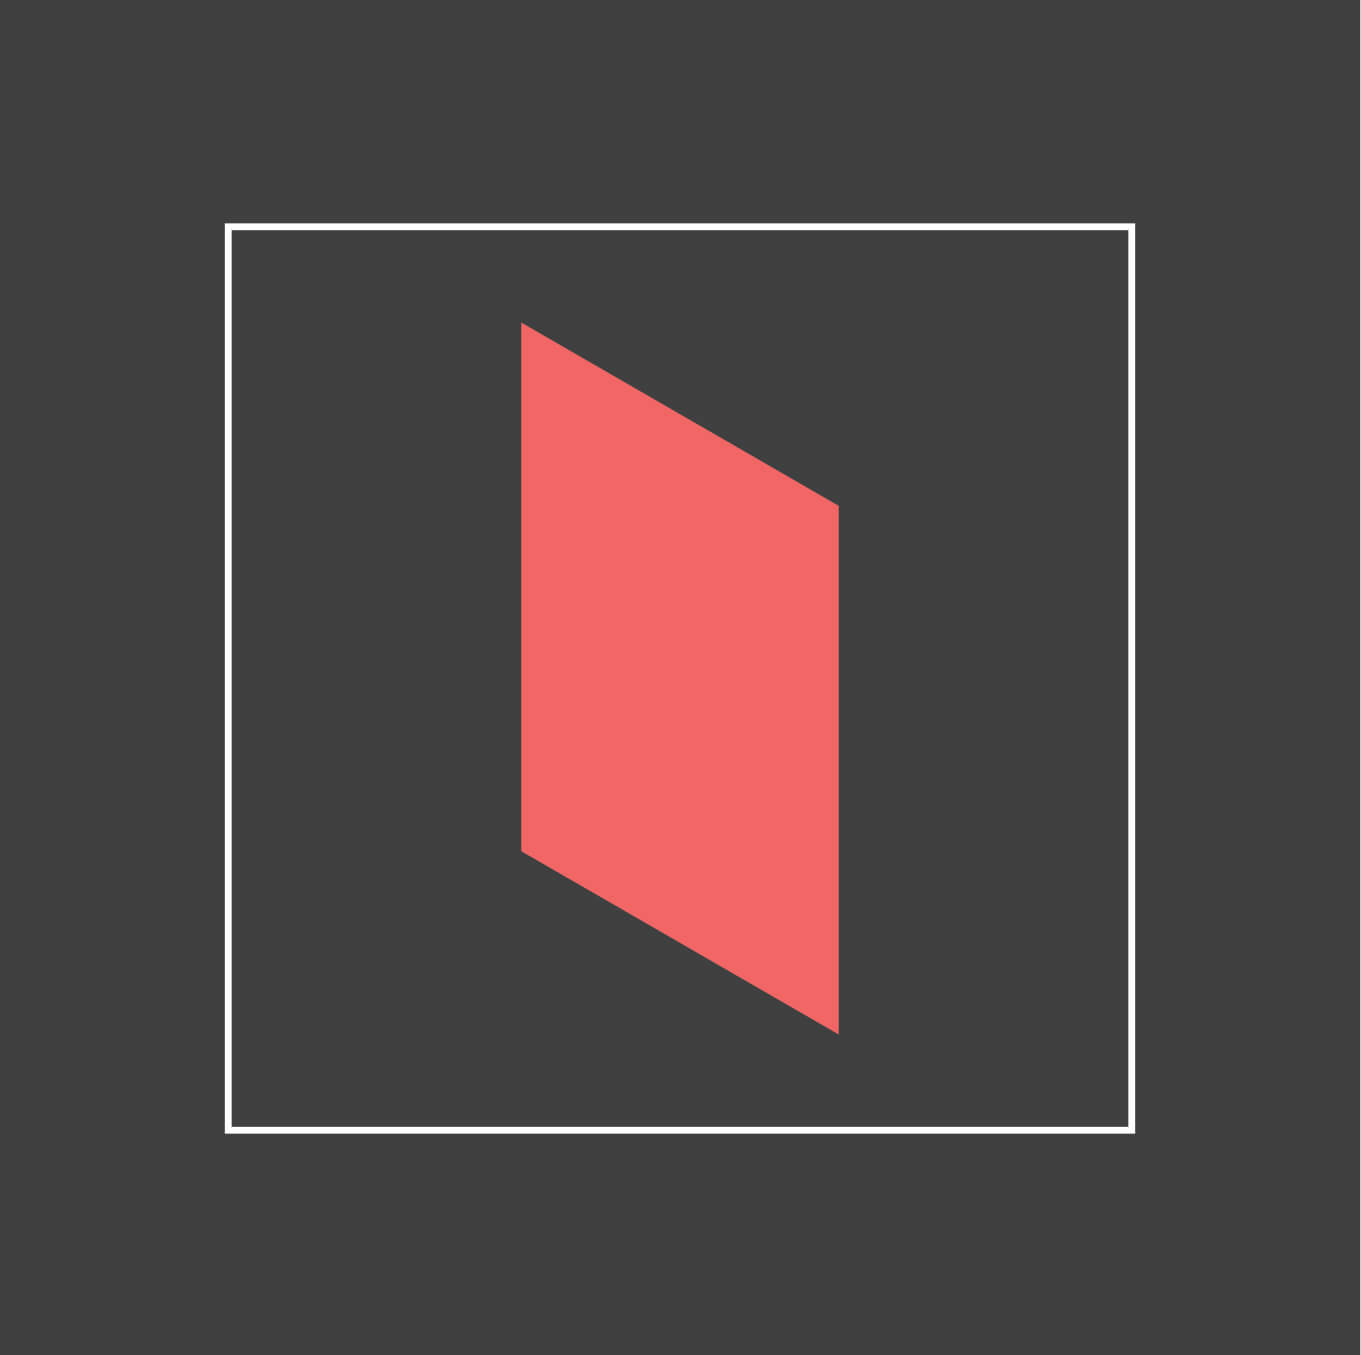
Put a new point with Add New Anchor Point Tool on the lower bound and move it 20 px up.
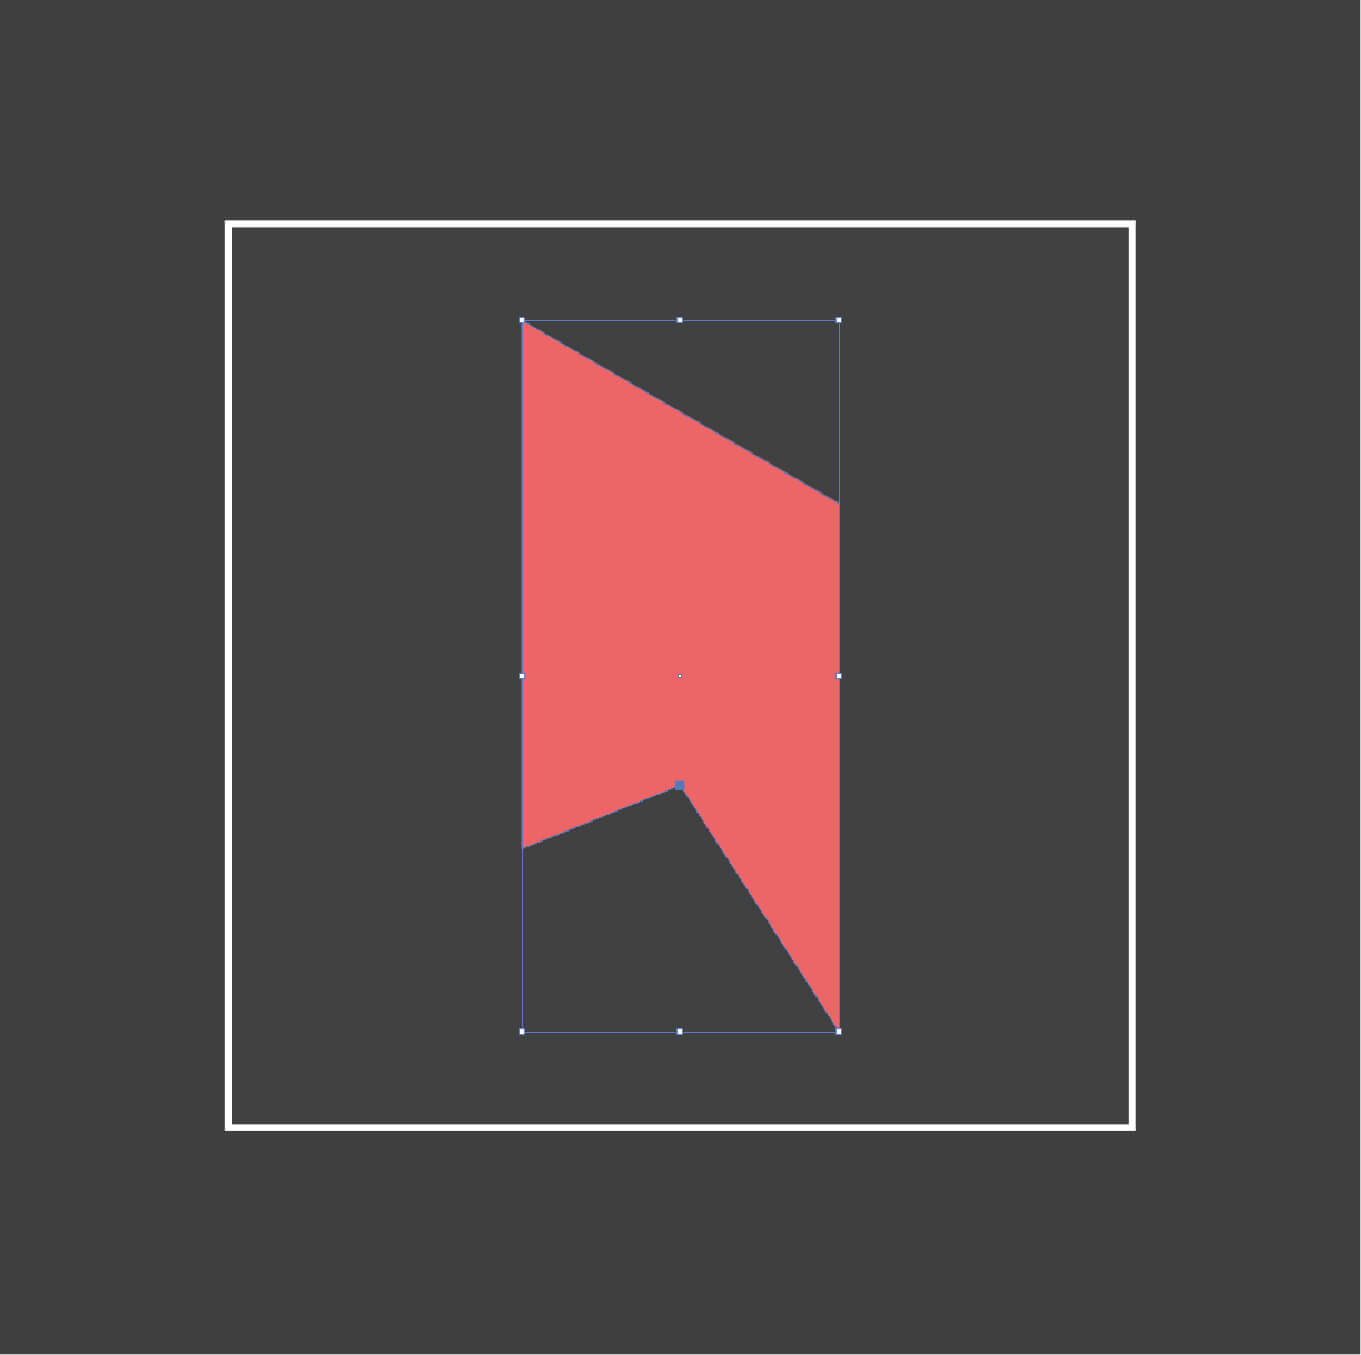
Using the Direct Selection Tool (A), pick the corners of the shape and round them up by 4 px.

Add two stripes, color #FFF4EA, 50% transparency. Scale them to fit the ribbon with the Direct Selection Tool(A).

Put the details together by placing the ribbon under the medal and align it center.

Add some volume to the medal.

Add the shadow to the medal: color #010101, 10% transparency.

Get your laurels, the icon is ready!

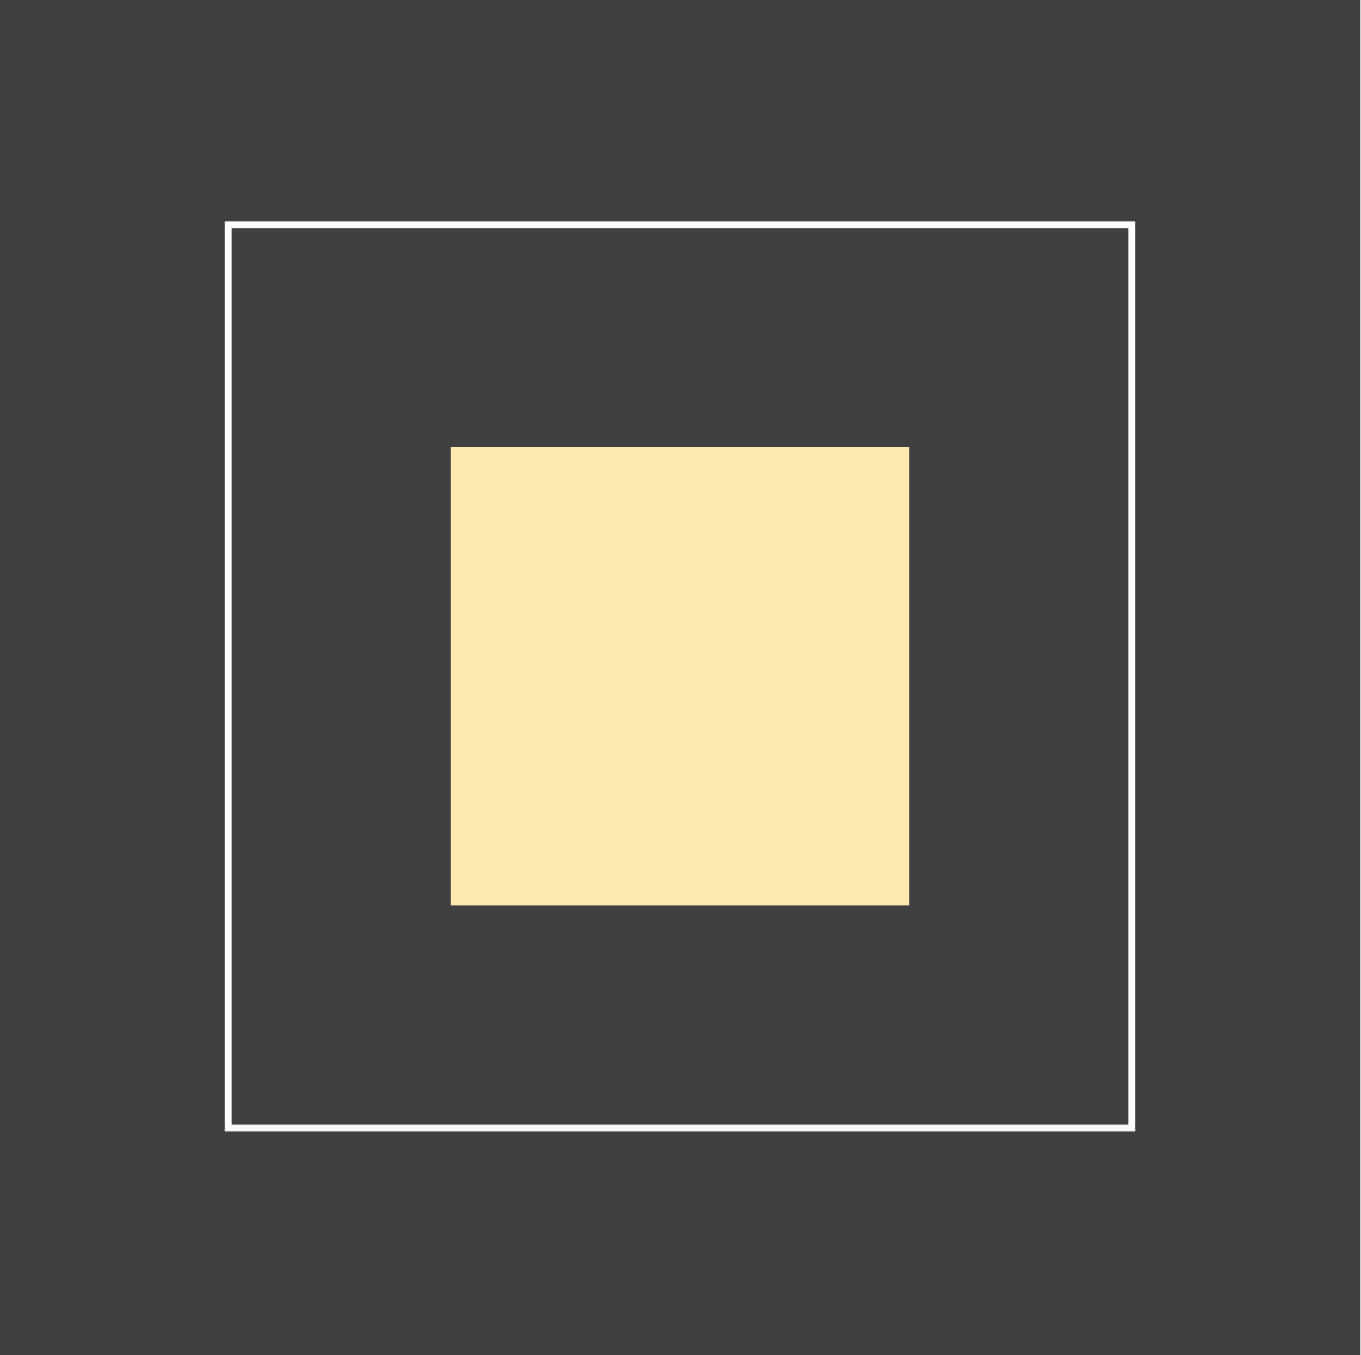
Create a shape 65x65 px with a Rectangle tool. The shape color is #FBE7AE.
Create objects on it with a Rounded Rectangle tool: red square (12x12 px, corner radius 2 pt, color #F26664), stripes with the maximum corner radius (color #D4953C, 60% transparency), barcode (25x12 px, corner radius 2 pt, color #FFFFFF) and grey stripes (color #8D8B8A).
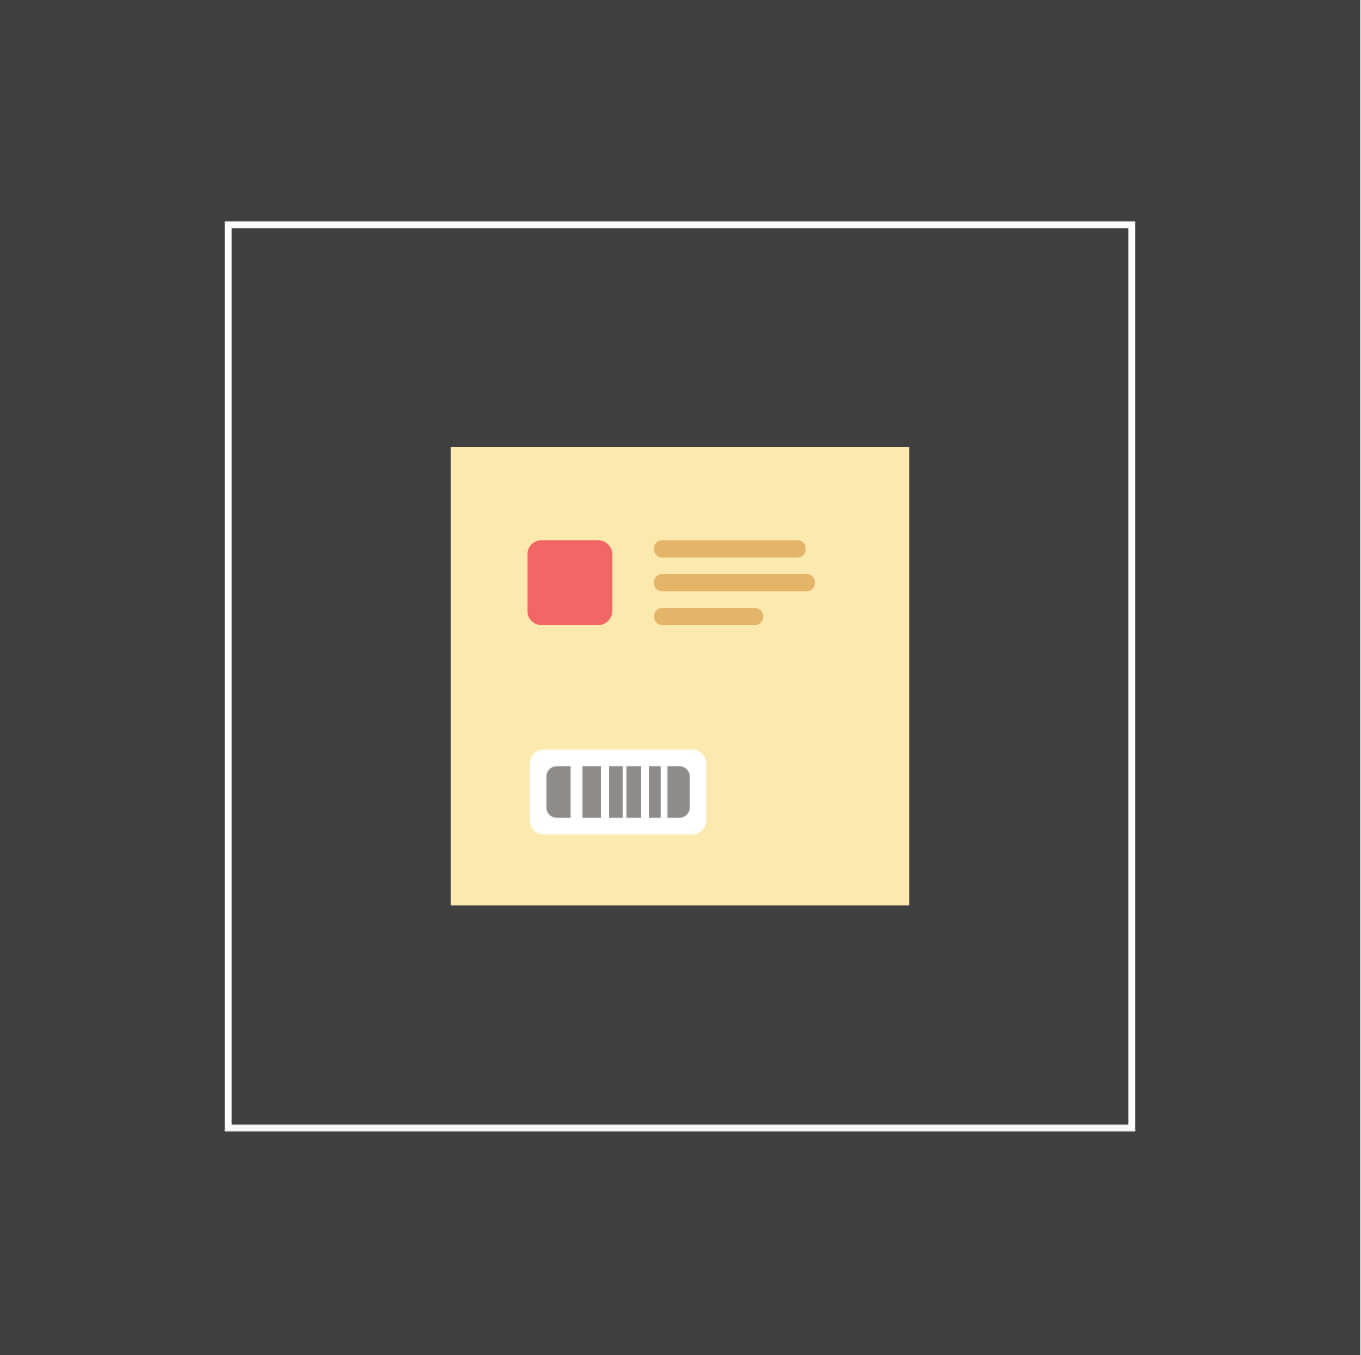
Transform it with the action Left.

Create a shape 65x65 px with a Rectangle tool. The shape color is #E8D396.

Draw arrows on it using a Line, complemented with the Arrowheads from the Stroke Panel. Add a stripe under them with a Rounded Rectangle Tool - color #9E5232, 20% transparency. Finally, add a wave-shaped piece of duck tape 17x14 px, color #E9DBBD.
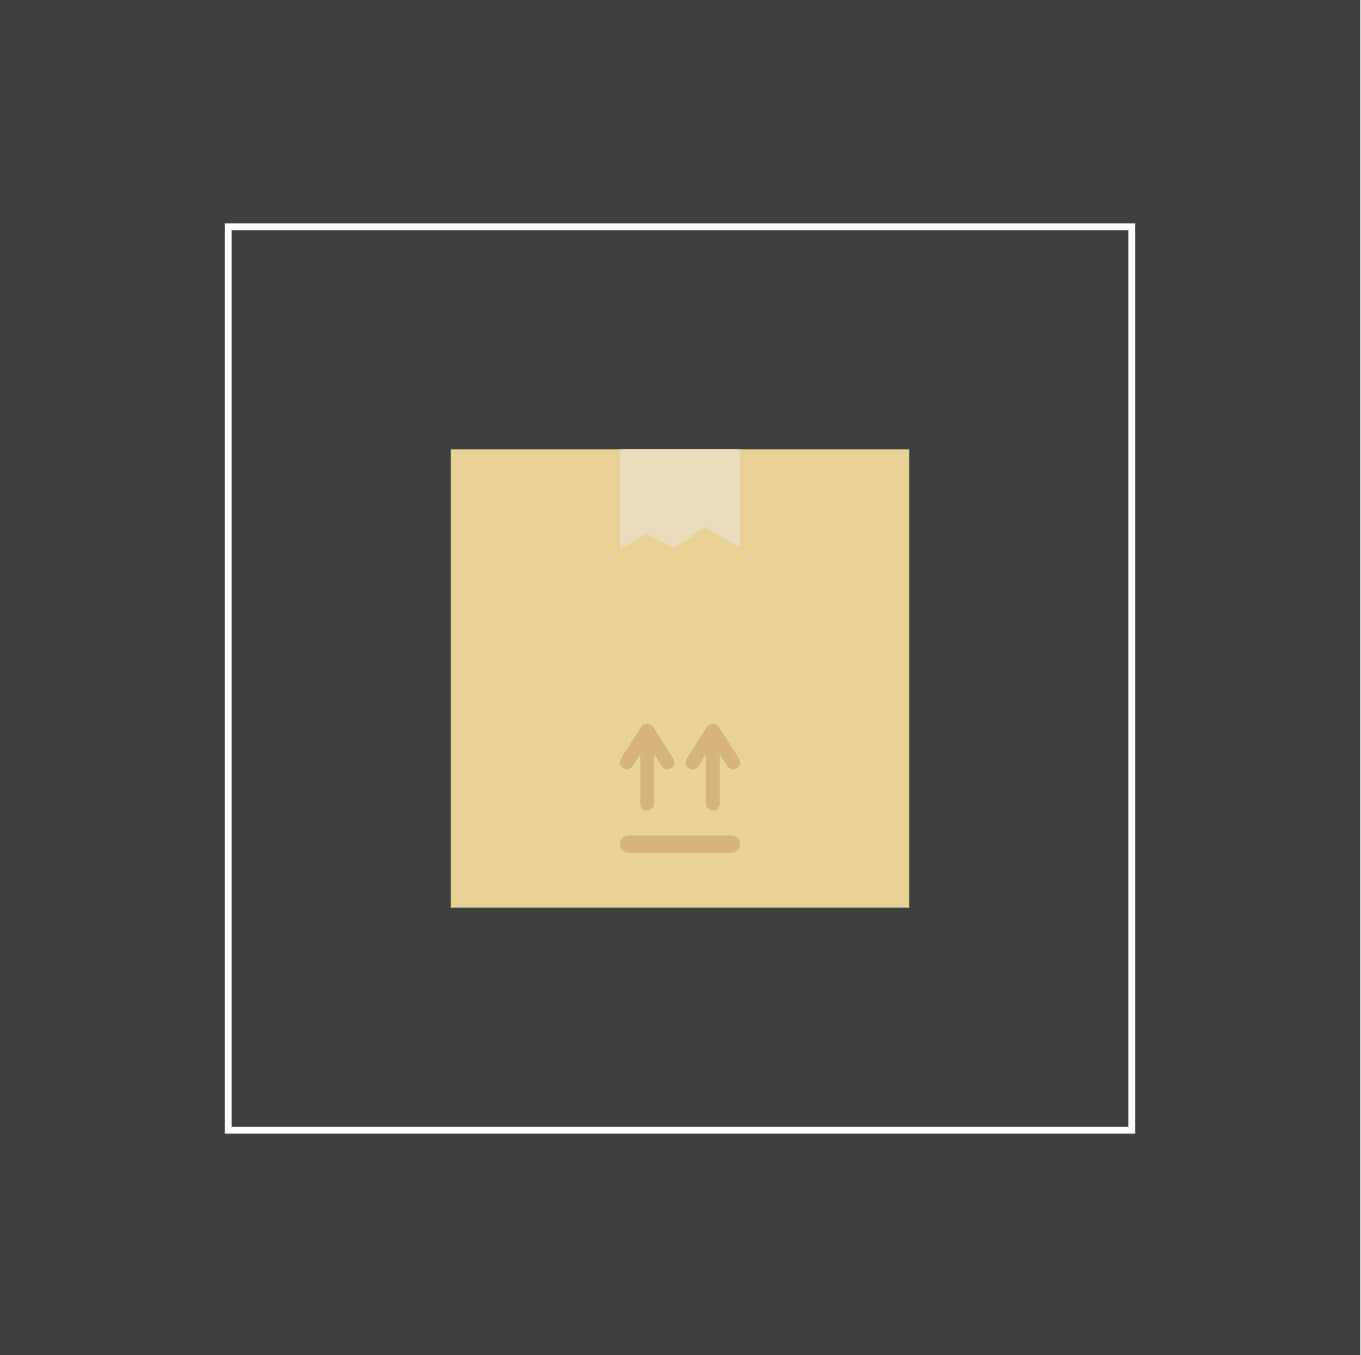
Apply the action Right
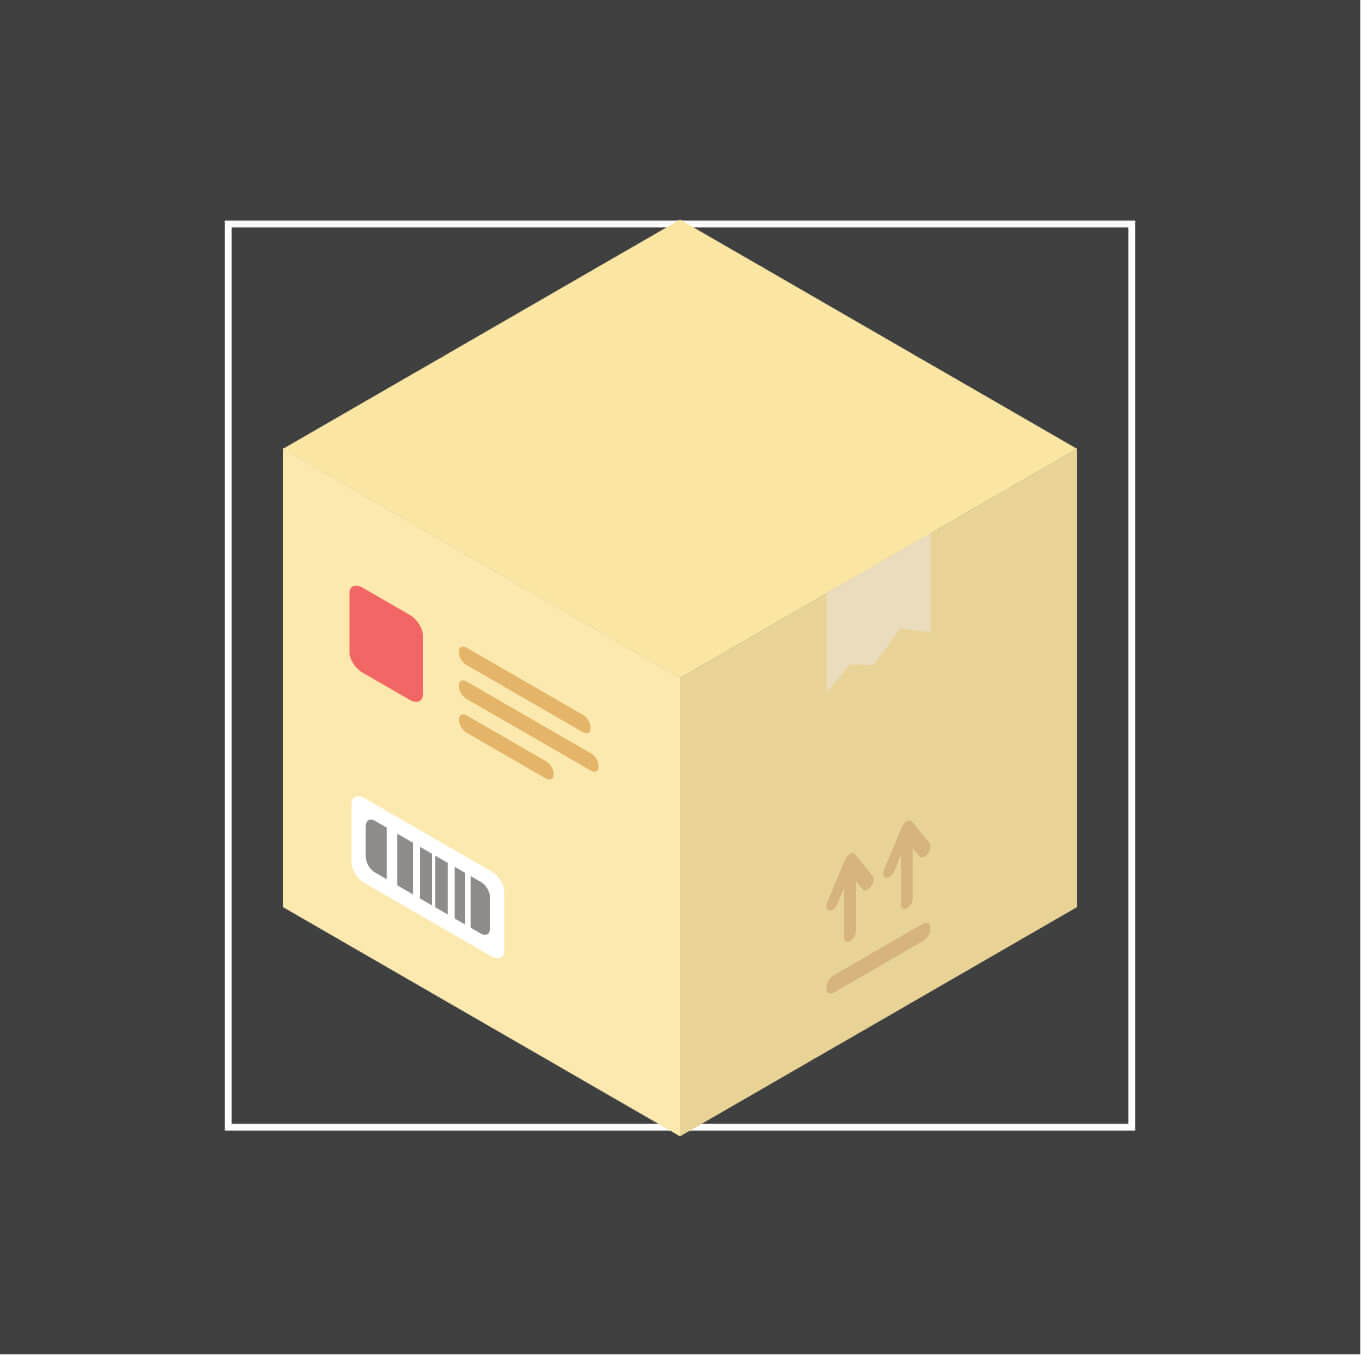
Create a shape 65x65 px with a Rectangle tool. The shape color is #FAE4A2.
Apply the action Top left.
Put all the elements together.
Create a rectangle 65x17 with a Rectangle Tool, color #FFF4EA, 60% transparency.
Apply the action Top Right.
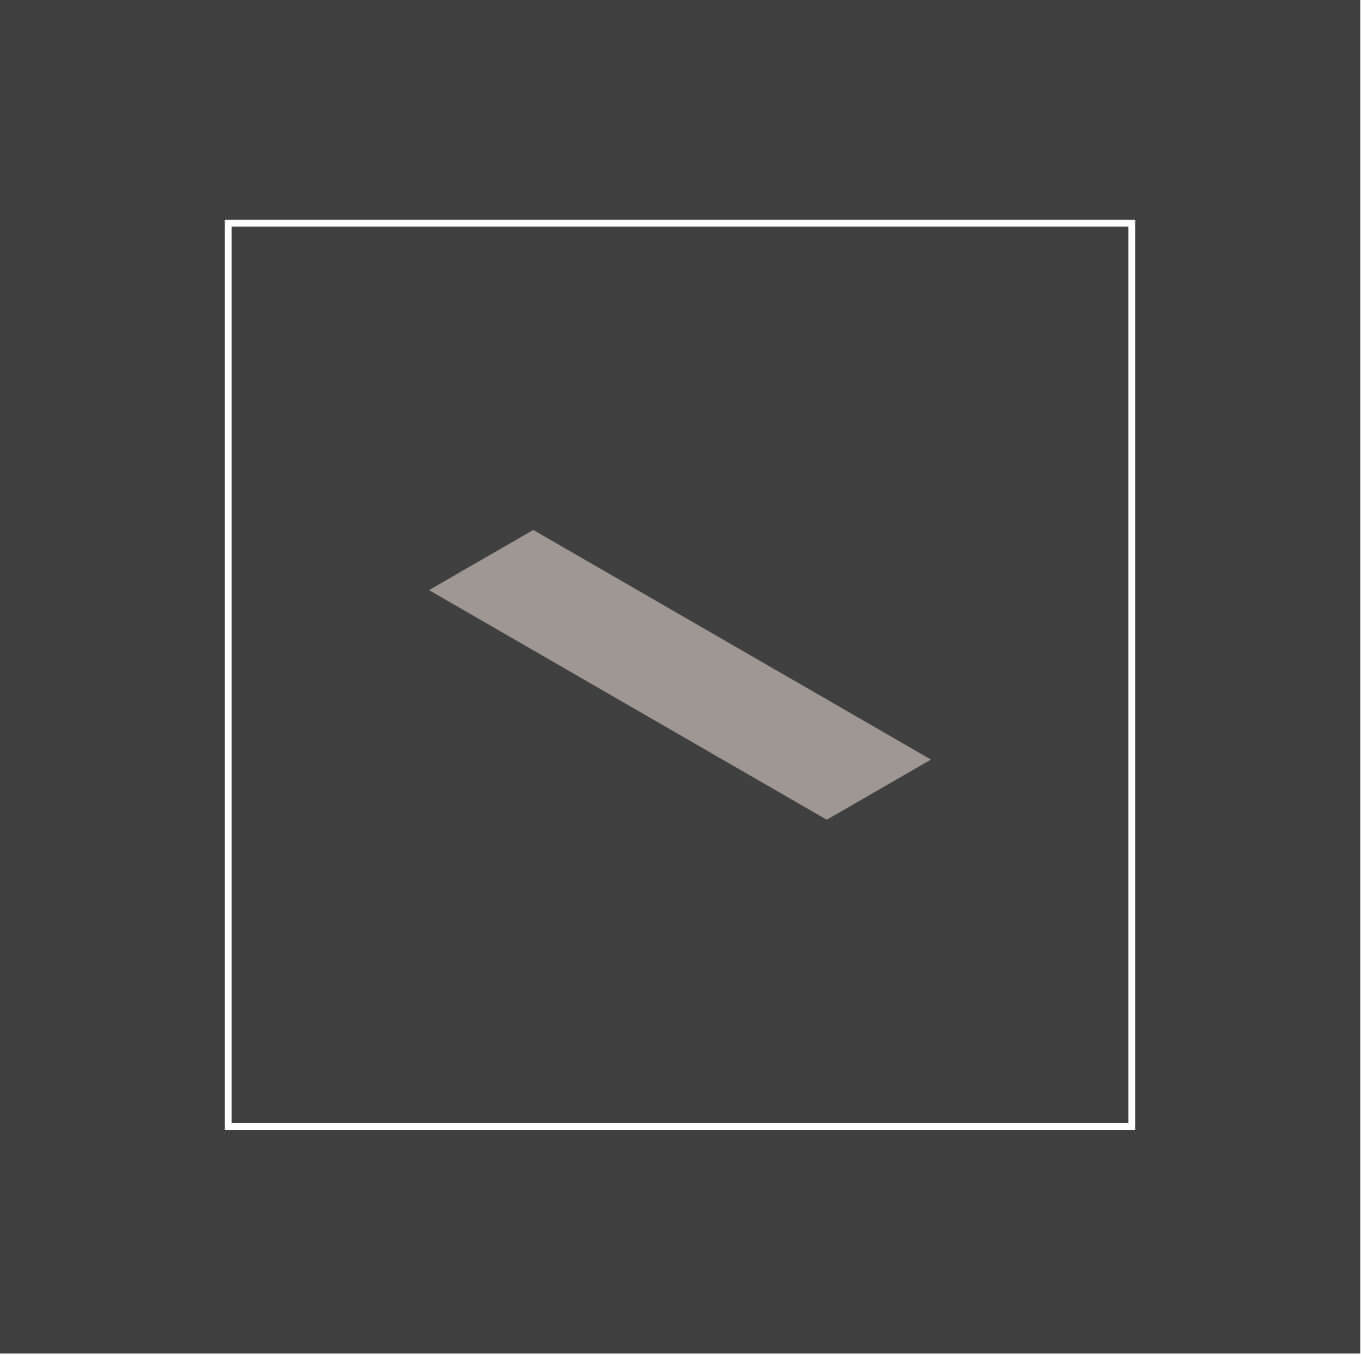
Place it on the top of the box. Dub and scale down the stripe, color #5D5F62, 10% transparency.
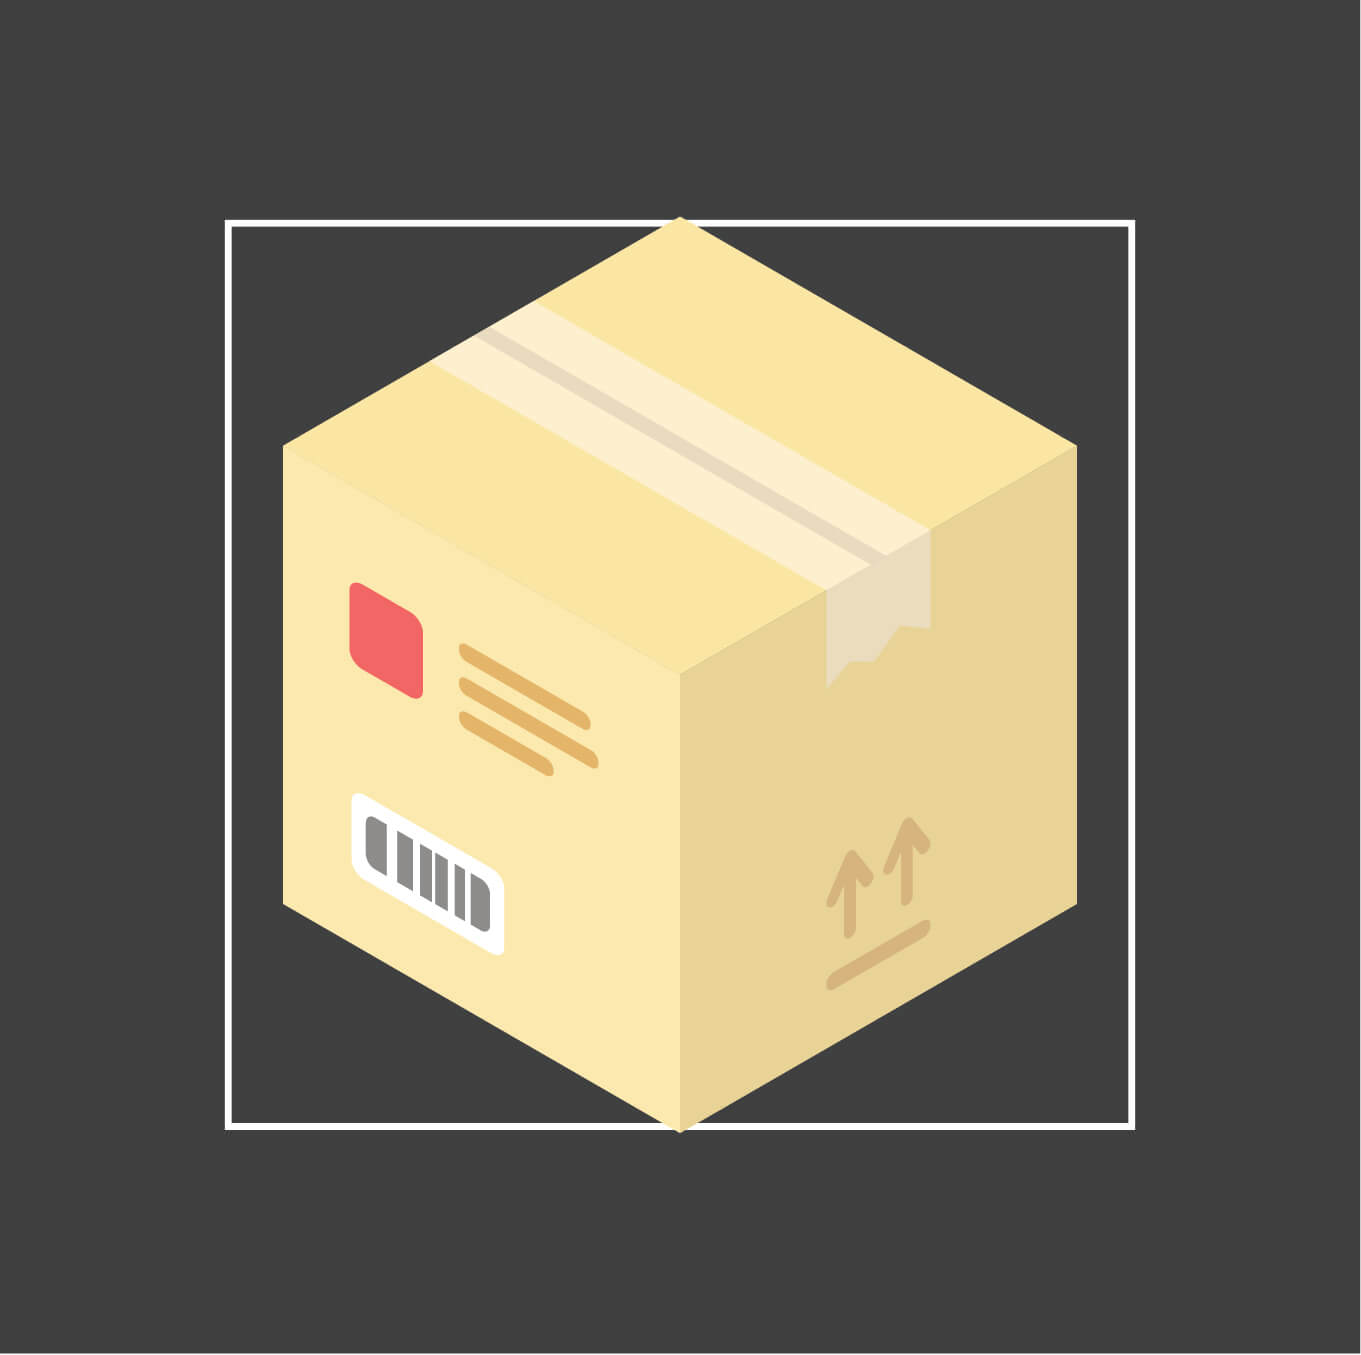
Group all the layers and change the hight for 128 px, setting Constrain width and height proportionsbeforehand.

Have any questions to ask? Victories to tell about? Our comments are open for that, and our team is always ready to help you and give a massive hug!

0 downloads available to unregistered users! Create a free account to get this and explore thousands more files. Already have an account? Log In